Want to get out of the house and get creative in Amersfoort? Or are you visiting our city with friends and looking for an original activity to do together? Then the workshops of the Stadsatelier (part of Letterpers) are just the thing for you. Guest blogger Chanou and I visited the workshop card making with lead letters. You can read all about it in this blog. Bet you will want to try this out soon!
A boulder of an urban studio
Letterpers and the Stadsatelier can be found atvan Westreenenstraat 2 Amersfoort: just outside the historic center. As soon as you walk into the studio, you can't ignore the three large printing presses. They are all of the brand "Heidelberger Degel. I immediately sent my grandfather a picture, because he used to have a printing shop himself. The pictures did his graphic heart good (and mine too, for that matter). ;-)
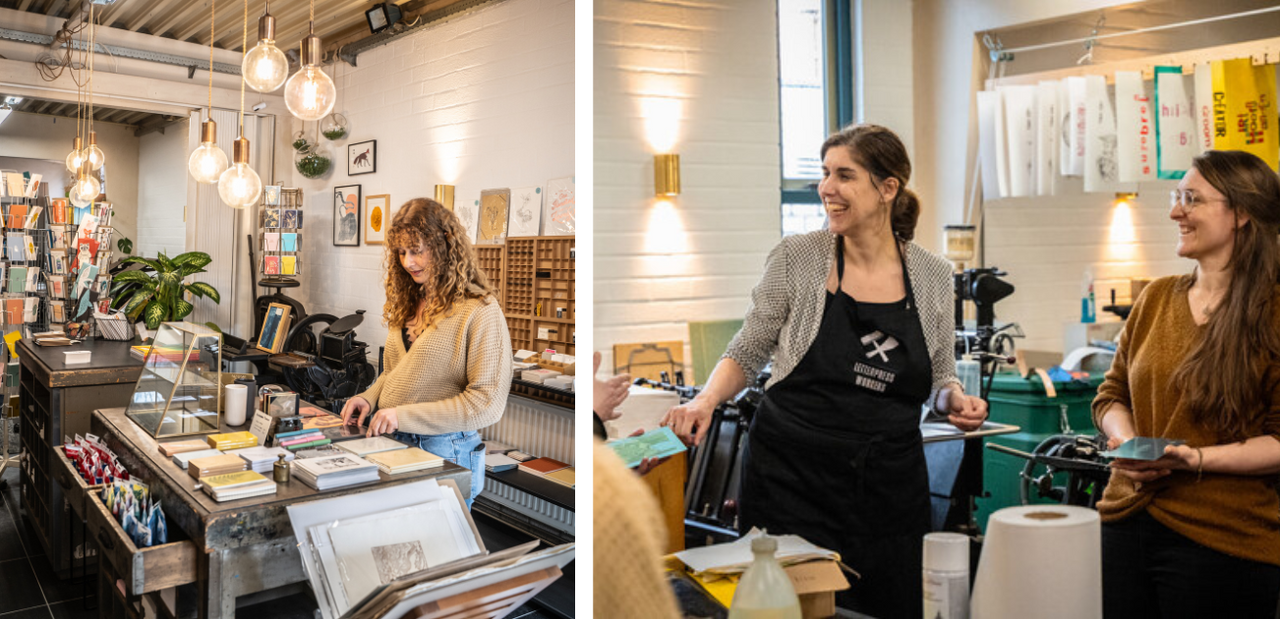
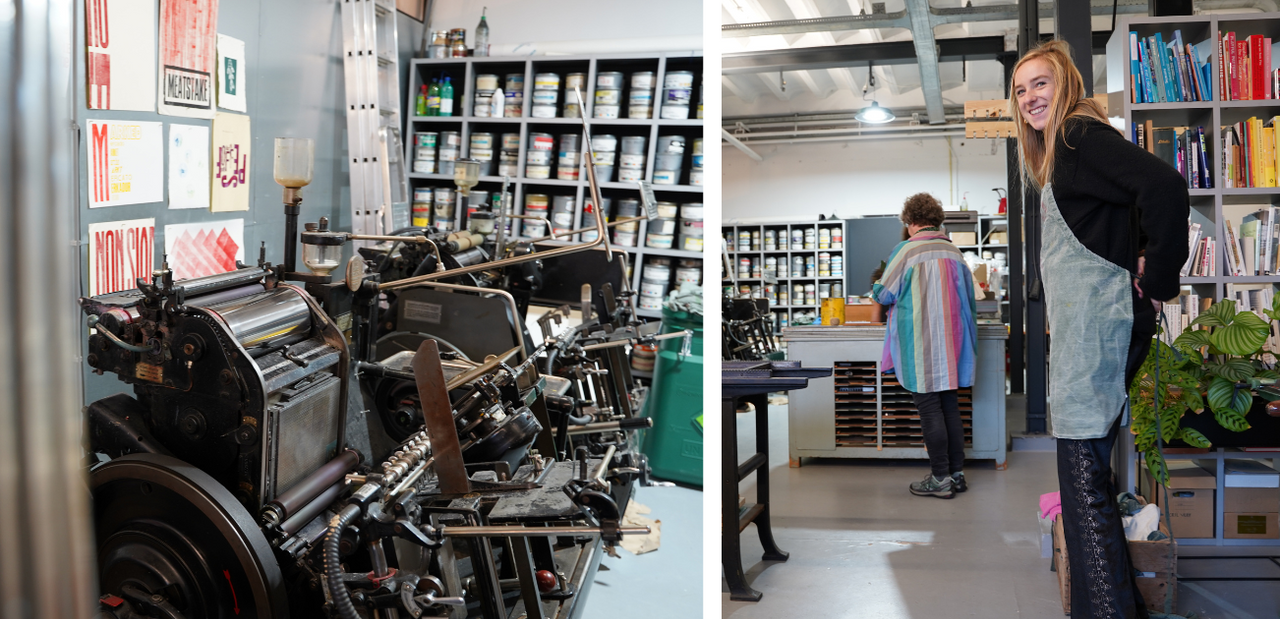
Owner and designer Tiny first leads you around and shows you where everything is. A cabinet full of colors of ink, dozens of drawers with all kinds of fonts, authentic foil presses and proof press. An urban studio to be envied... *sigh*
Let's get down to business
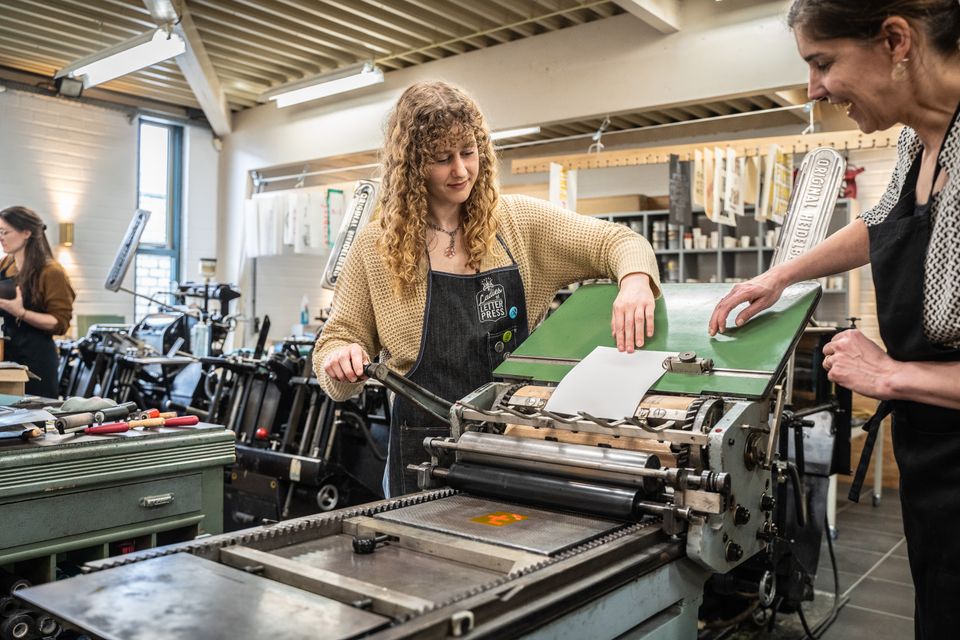
After the tour, Tiny puts you right to work. Rest assured, you will first receive a detailed explanation of exactly what typesetting entails and how to proceed. Good to know: the workshop takes about 3 hours.
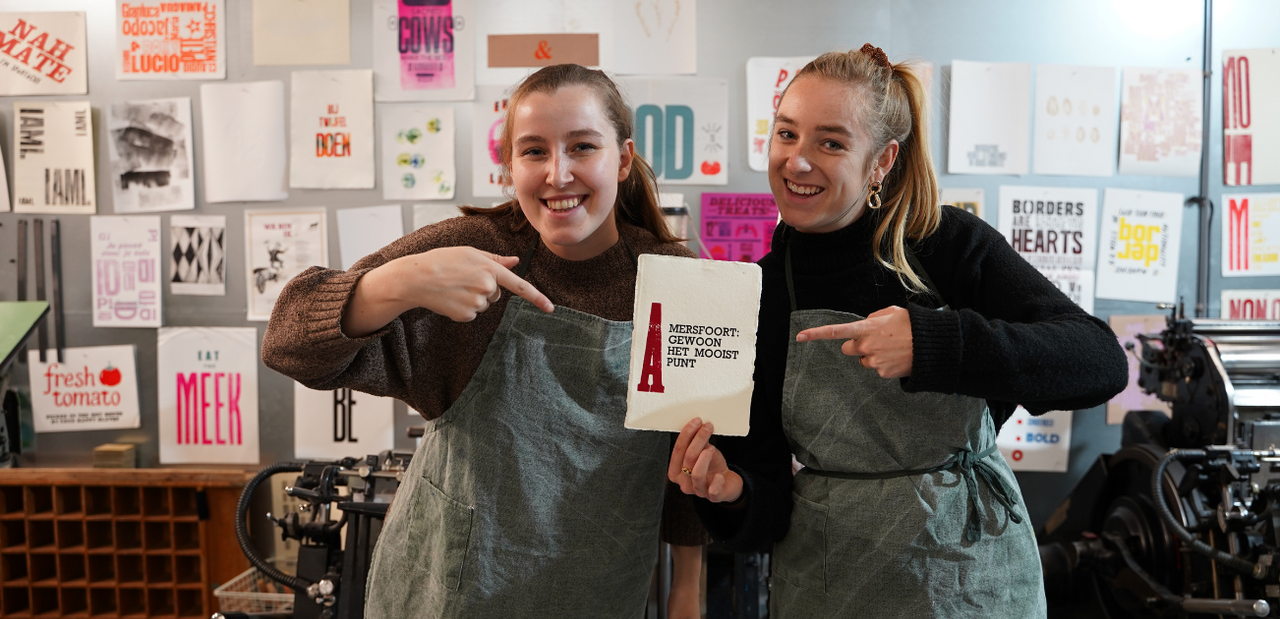
The first step? Coming up with a text! As guest bloggers of Visit amersfoort, Chanou and I could not get it over our hearts to create a piece of art that was not about our city. Hence, we chose this text: Amersfoort: simply the most beautiful point
In mirror image
Then came the fun part: choosing a font. We dove into all the drawers and came across an ornate font. We thought this fit our town perfectly.
Then we wrote the text on a scrap paper so we could see which words we wanted where. In typesetting, you always start with the largest line and end with the smallest. All the letters had to be placed in mirror image.
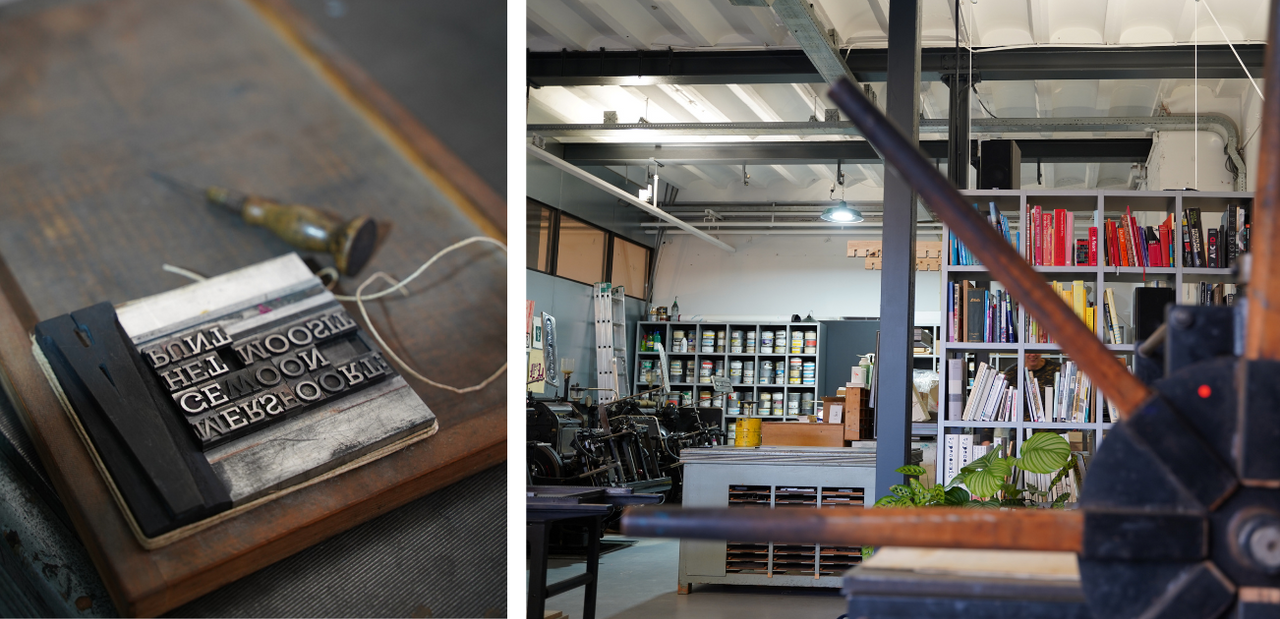
With lead bars, in different shapes and sizes, we made sure the whole thing fit together. Quite a job. Finally, Tiny twisted a string around the whole package so it would stay together during printing. Let's print!
Go red
Chanou and I wanted to create a playful print. Hence, we chose a large letter "A. Tiny suggested giving it a different color. How fun! We chose red, of course; the color of our boulder of a city.
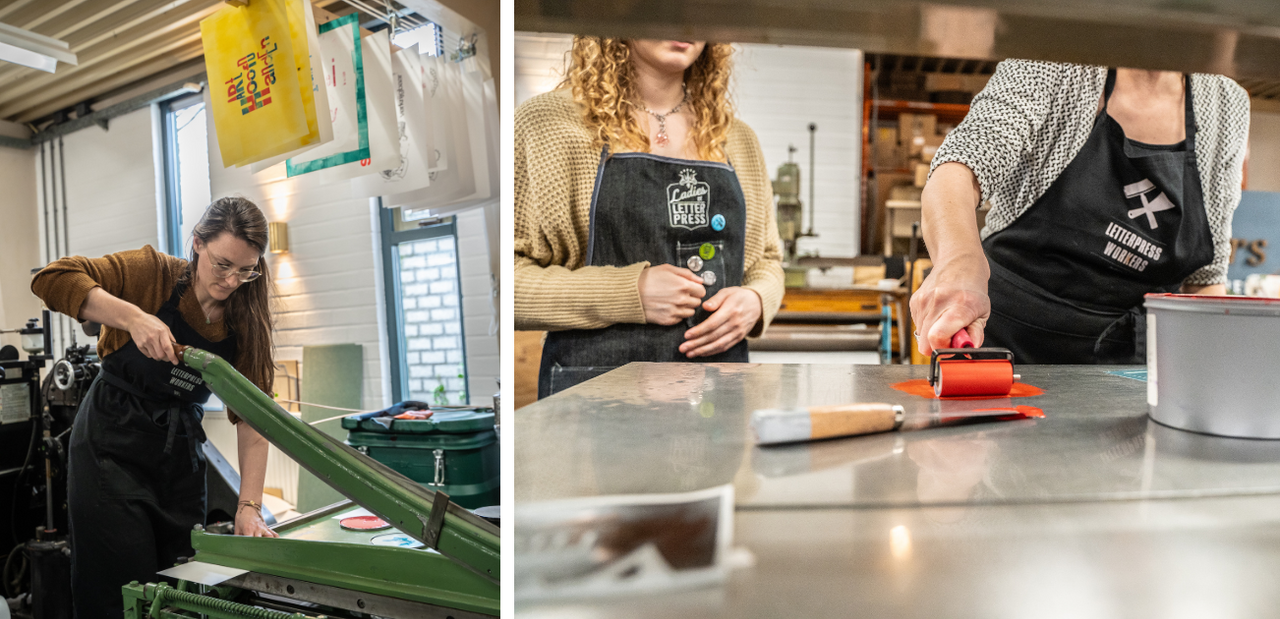
Then we were allowed to put our letter artwork on the press and rolled the two colors of ink over the letters. This had to be done very carefully or the rest of the letters would turn red as well.
Tadaaaaa
A piece of paper over it and nothing more to do. Turn it! We were amazed at how much force it takes to get the press to move. In the end, we were rewarded with an awesome map of Amersfoort. How do you like the end result?
After reading this blog, would you like to try out a cool workshop at Letterpers? Sign up via the link below. Have fun printing!
Yes, I will take on this adventure
Or check out the workshop offerings first